Now I’ve downloaded the basic TK6 panel it seems I should save all my tonal adjustments for this tool so I did that using three masks for brights, mids and darks. I think it did a nice job, but I assume I’ll get better at it as I use it more.
Then I created a Stamp Layer so I could do some spot healing, but alas, I forgot to do all of it so I had to clean it up in Lr after the fact. I think this is because I put what turned out to be a Smart Object Layer above it.
That came about by trying to isolate the Smart Sharpen filter to only a selection of the barn and not being able to do it until I converted my Layer Mask to a Smart Object. Then I could sharpen only the barn and not the trees. If there’s a different or better way to isolate sharpening to a selection, I’d love to hear it. The googles didn’t help much because the results kept bringing up Unsharp Mask.
Colors looked a little dull and a bit cool so I added another Stamp Layer for a Hue/Saturation adjustment.
It all worked (except that spot healing snafu), but I’m still not sure this is the best approach or workflow. Because I did everything in layers I didn’t do anything permanent, but because of the Smart Objects coming later in the process, my ability to use some of the tools was curtailed.
I’m trying to get my head around how tools, adjustments & filters can be applied and how. Here’s my Ps Layers panel -
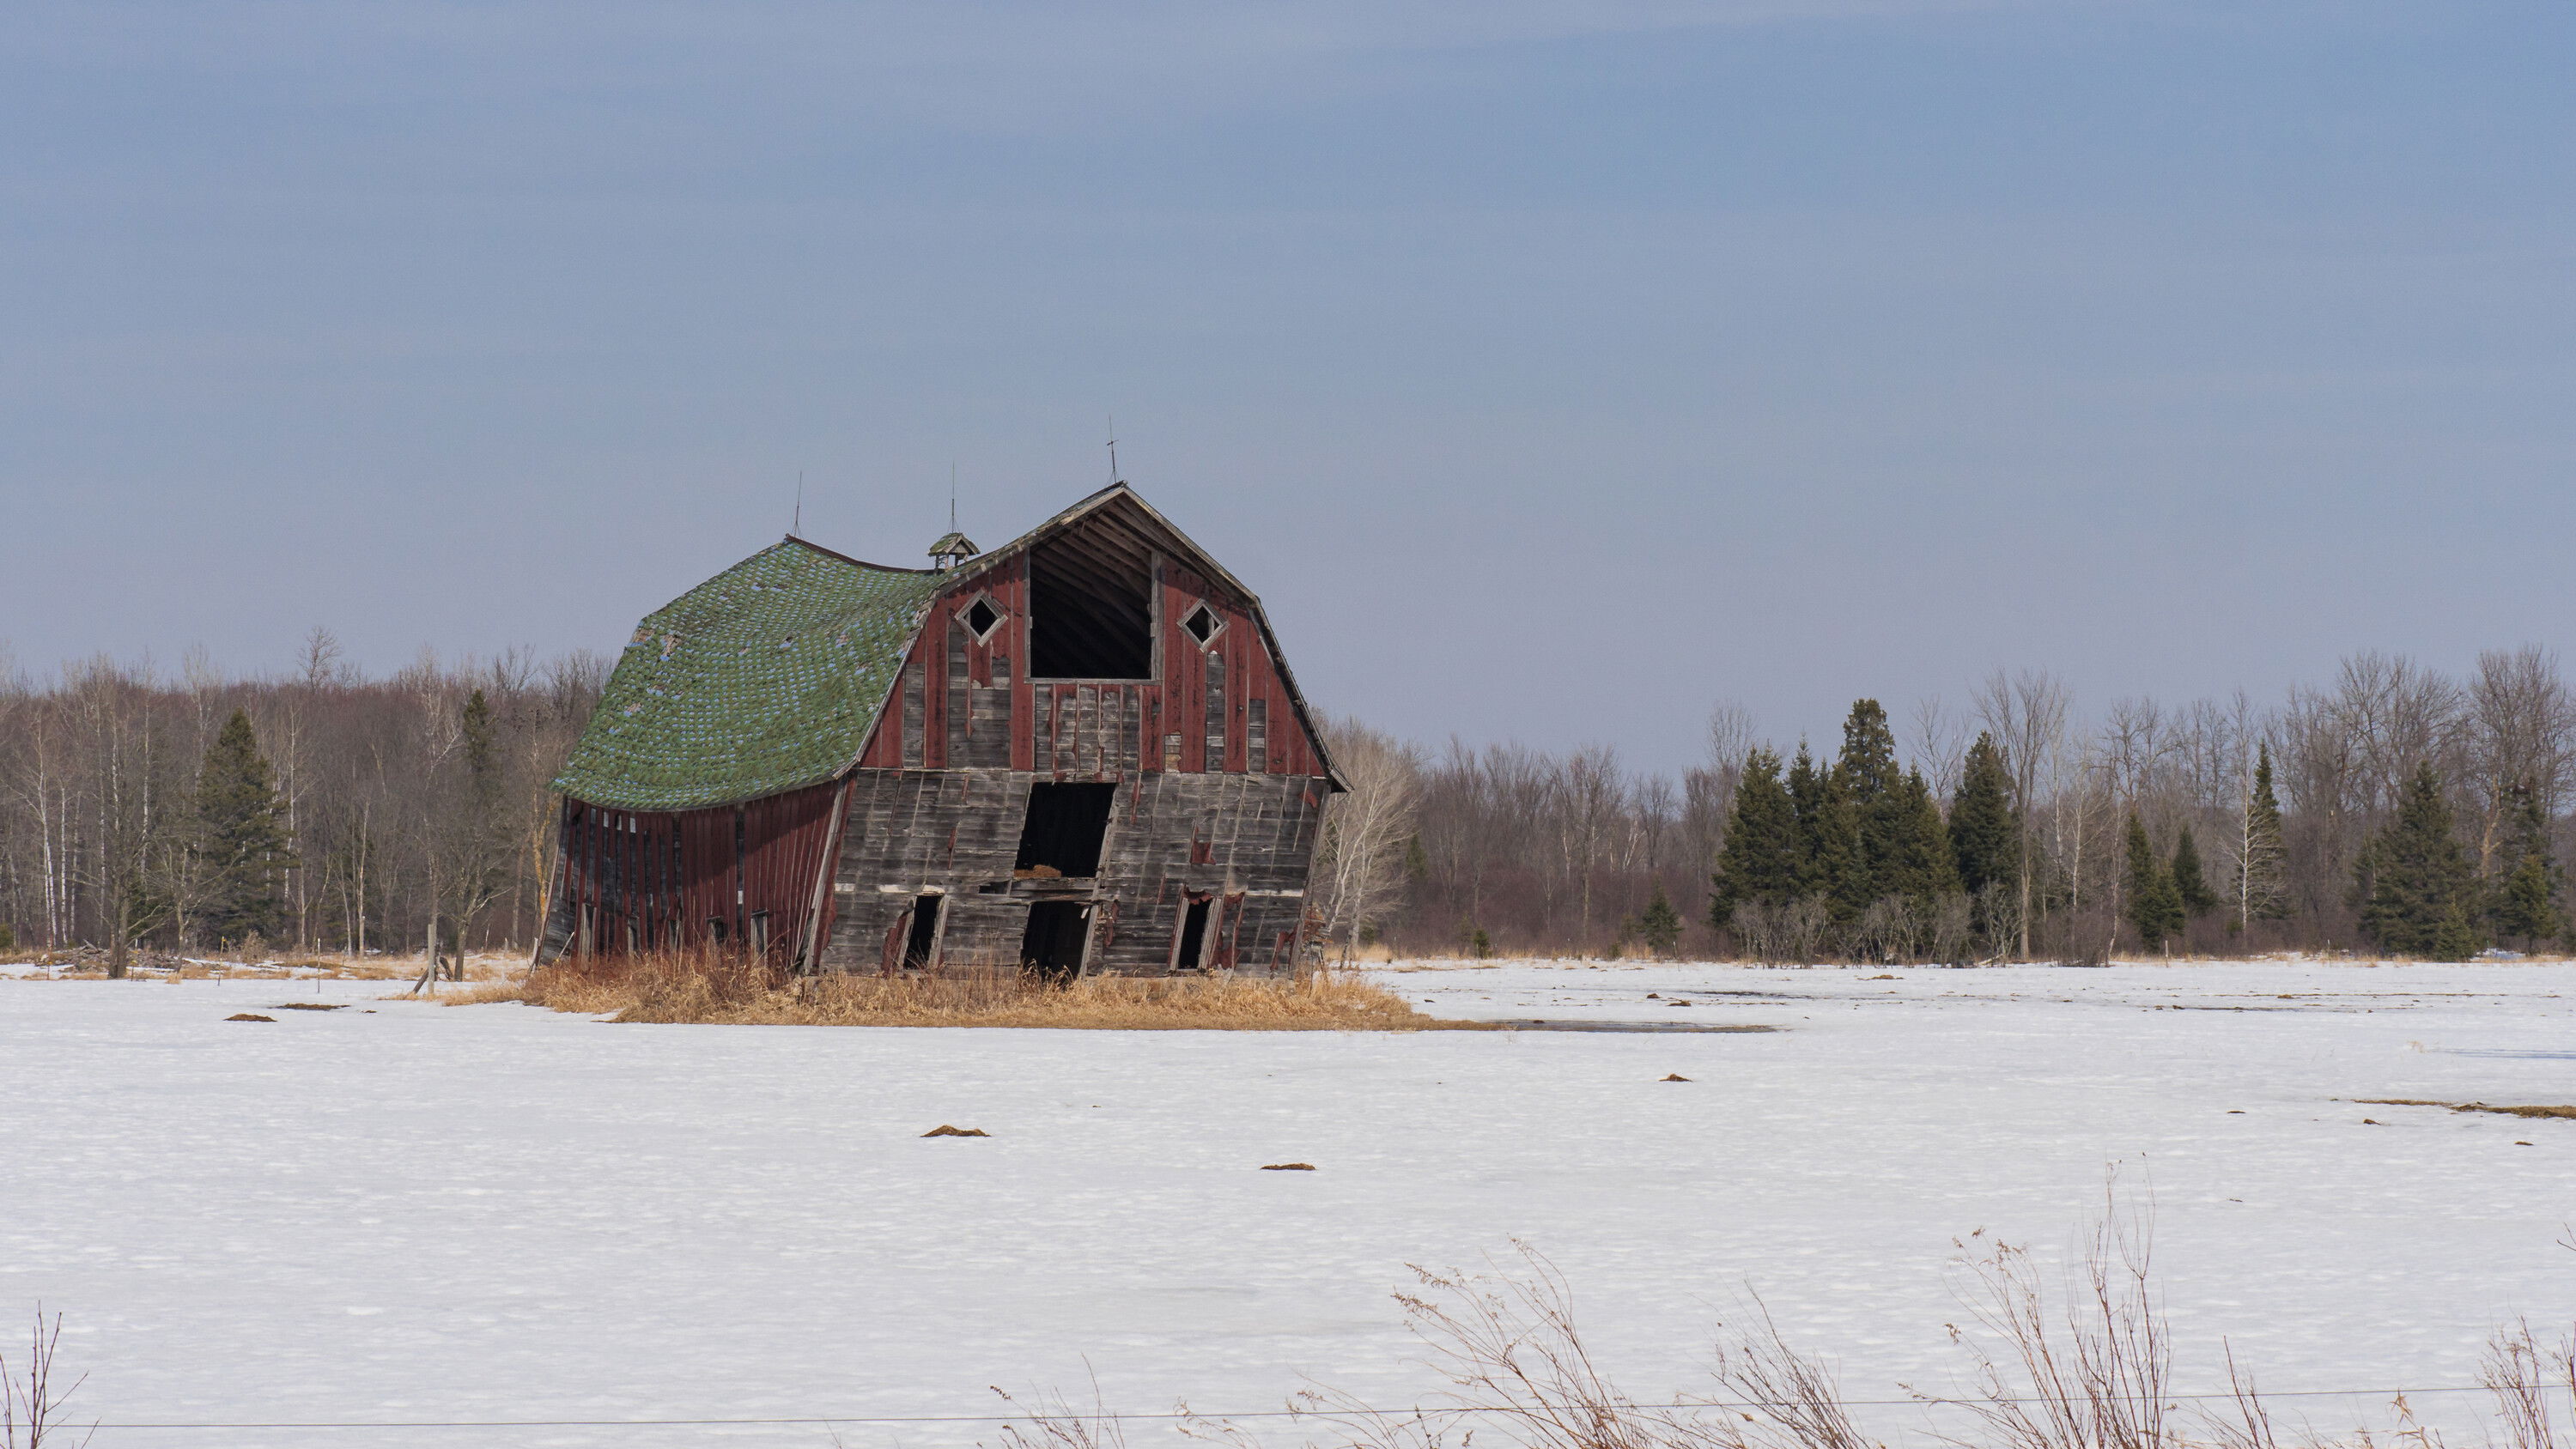
Kristen, a very fine old barn subject here. Just a quick review on my part is the second image is nicely improved with your post processing. Only thought for change as it is presented is to clone out the brush poking in from the bottom edge here and the brown patch of dirt on the mid RH edge. You could also try a pano crop for yet another look. All subjective thoughts on my part.
Surprised not to see warning signs or even a fence around the structure for safety thoughts, but maybe there and not see able in the images here.
Thanks @Paul_Breitkreuz - I cloned out some of the grass at the bottom and a few muddy bits from the field, but left those for verisimilitude I guess. It was a working farm for decades and those are its legacy. No fences or anything. I’ve never seen anything like that in this part of the world. People just expect you to use your head and have a fine sense of self-preservation.
Starting from the Spot healing layer and working up:
That layer should have been a blank layer. Then just make sure the option for the Spot Healing brush on the options bar (near the top of the PS window) has “Sample All Layers” checked. It would have worked without the need for a stamp visible layer just to do the spot healing. The way it is structured now, that layer blocks the 3 TK layers below it for any future adjustments.
Layer 1 copy: The purpose was to sharpen, but only sharpen the barn. This is the exact scenario I showed in my tutorial video in the Photoshop 101 thread.
Select the spot healing layer (which should have been blank) and all layers below and create a Smart Object. Then apply the Smart Sharpen filter. Then just create a mask on the Smart Filter so the only thing sharpened is the barn. The mask would be white where the barn is and black everywhere else.
Top Stamp layer. Not needed at all. Just apply the Hue/Sat Adjustment layer on top and it will flow through and affect the entire image below.
Edited Post to add a couple of screen shots of the layer stack I described:
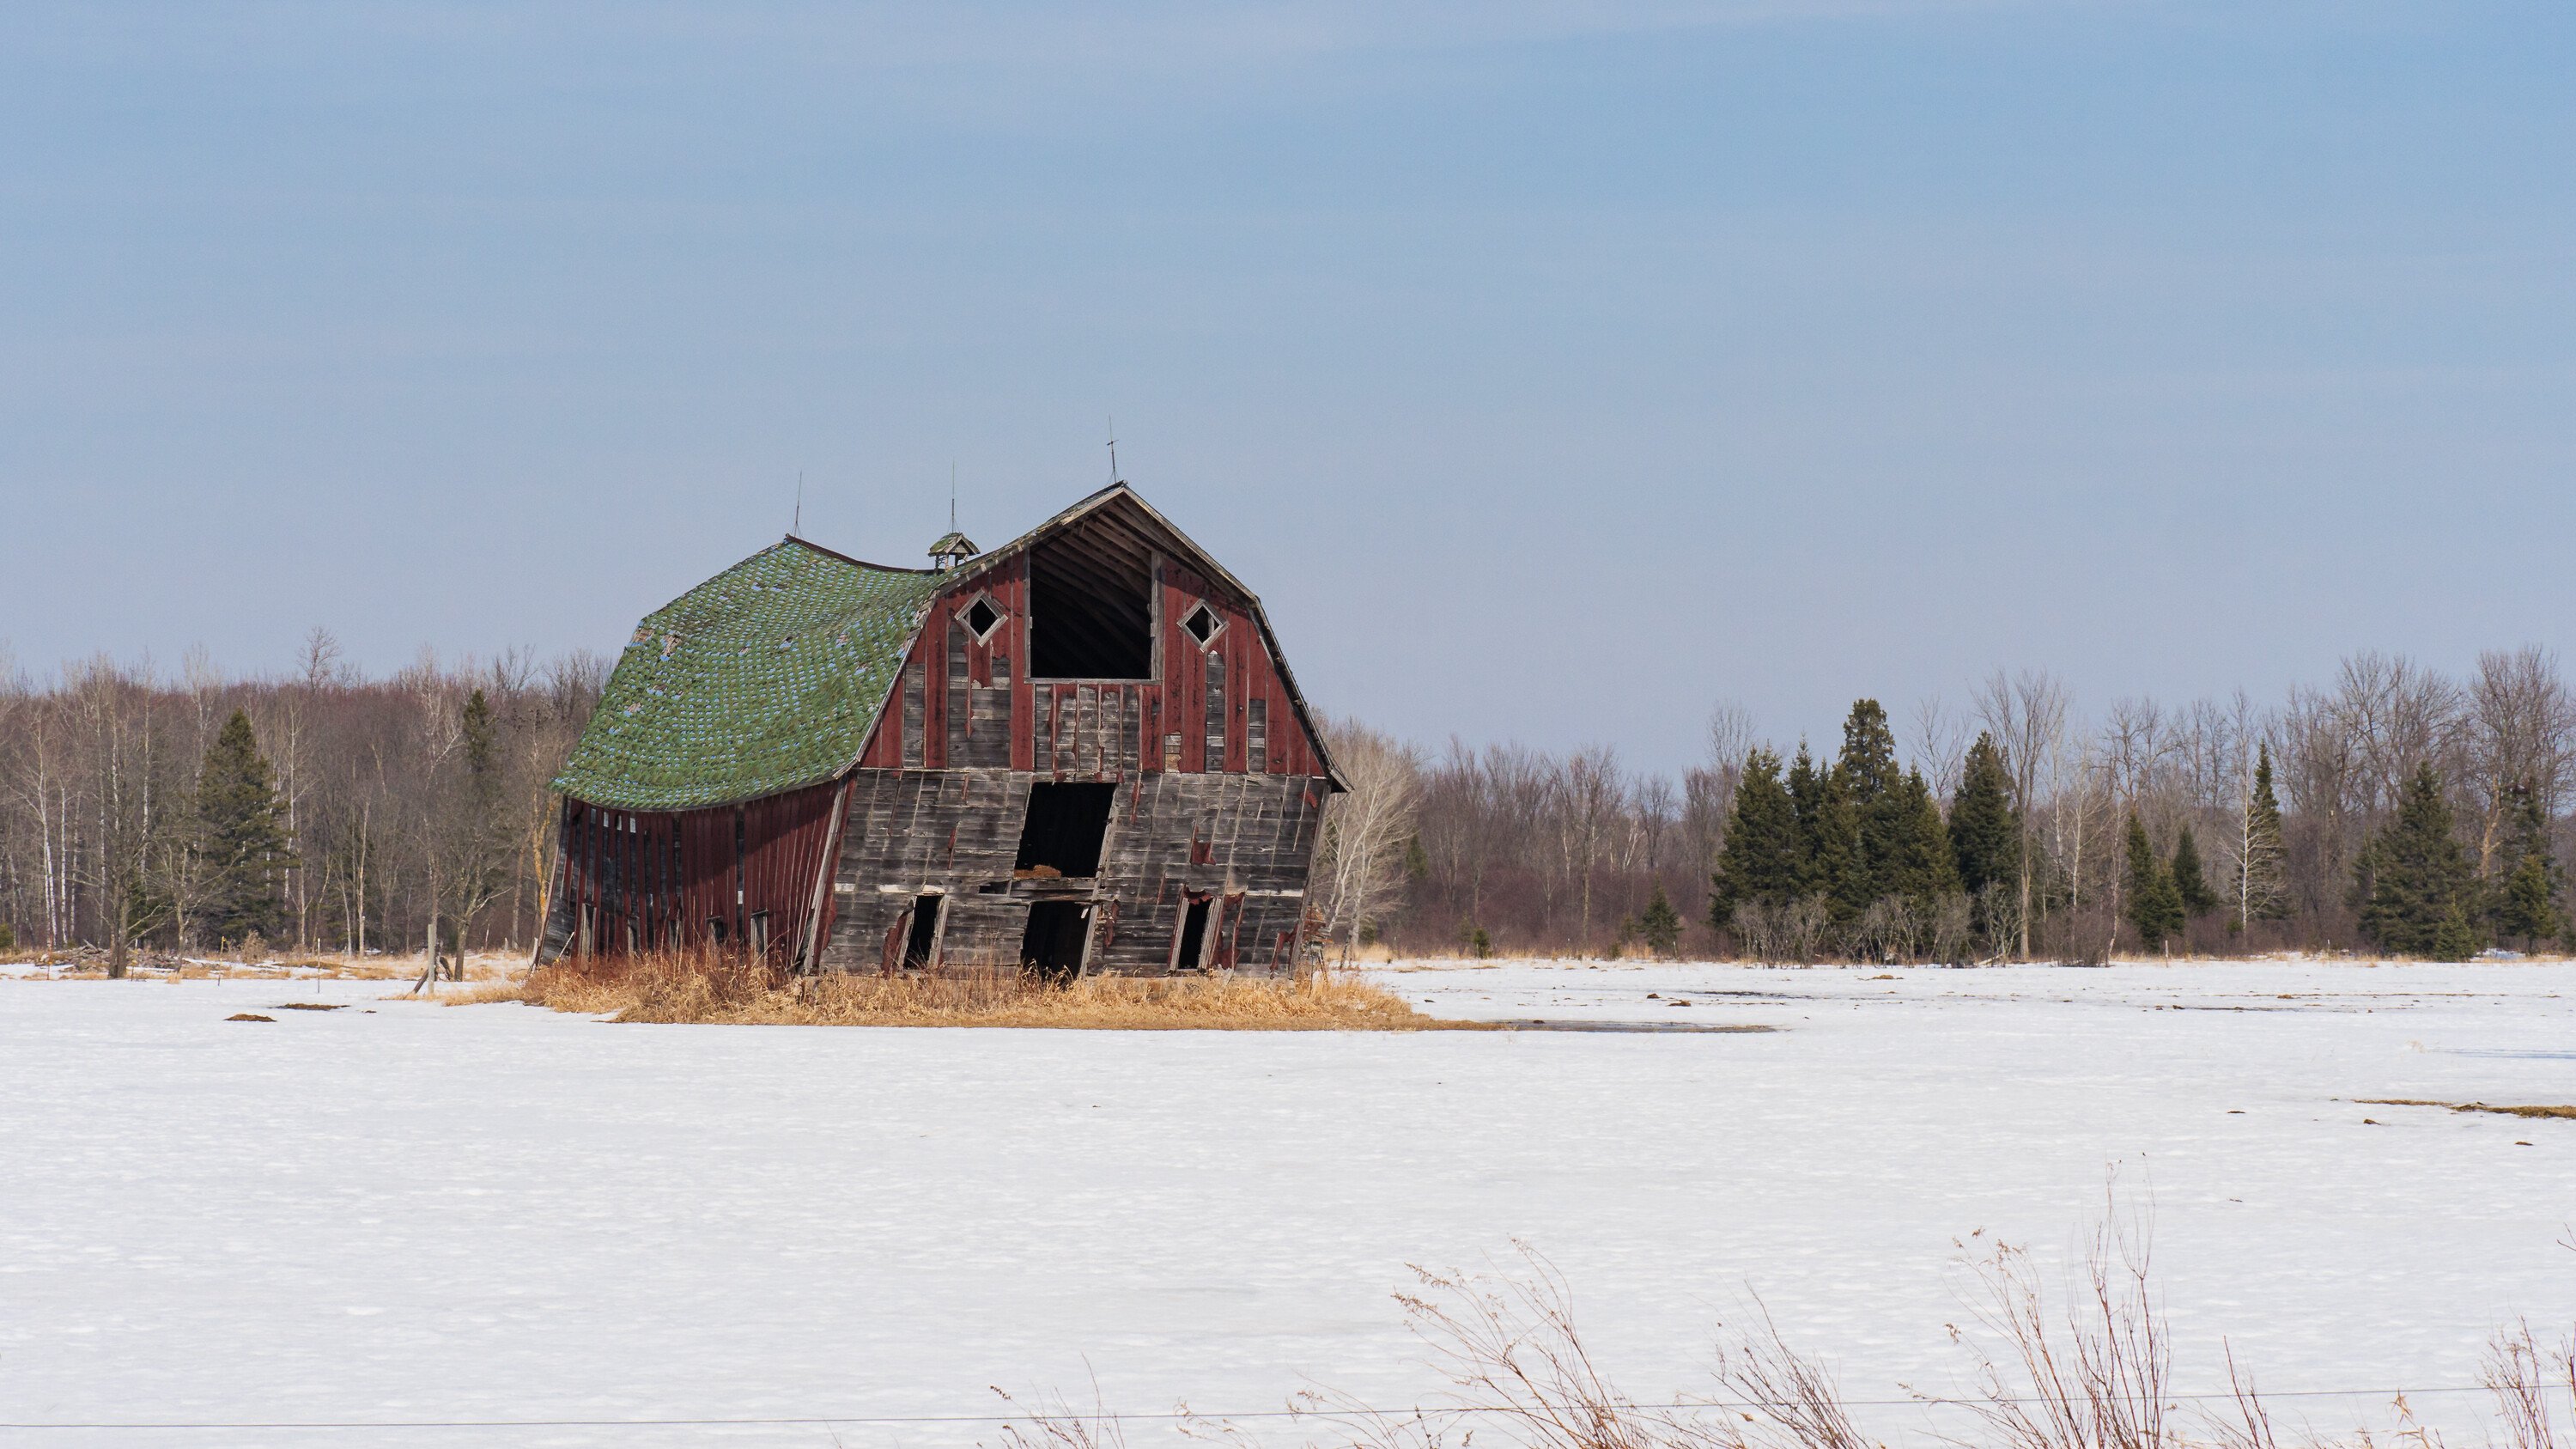
Thanks Keith. I’m really not this dense, but what is instinctive for you is absolutely new to me. So. Here’s another barn image worked in the way you describe above and in your video. I think my disconnect was that I could use a selection to corral the Smart Sharpen filter. Doh. I’m so sorry that this seems like pulling teeth.
Perfect!! You’re NOT dense. You’re learning how to take advantage of Photoshop and do things in a non-destructive way. The learning curve for PS is far longer than LR. What you did on this example is right on the money. Good stuff!
Thanks, that makes me feel a bit better. The smart sharpen and mask is going to be a game-changer for me, I can tell. Now gotta do some work and come back to play later. You’re a lifesaver.